Over the weekend I decided to make a new Fall wreath for our front door. The old one we had was a little small and wimpy, and since I’ve been working on decorating the porch for Fall, I decided it was time for a bigger wreath that made more of a statement. I’m also going to show you how easy it is to make a wreath of your own. I know that I’ve never made a wreath before in my life up until 3 years ago, so I hope this little tutorial will help you because it used to overwhelm me. And all of you wreath pros I still hope you enjoy the new wreath. :)
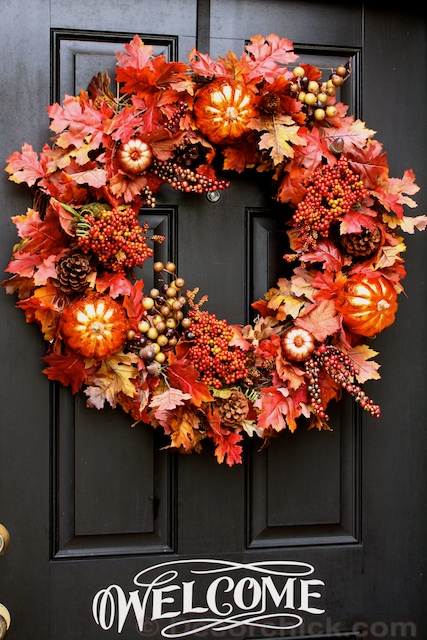
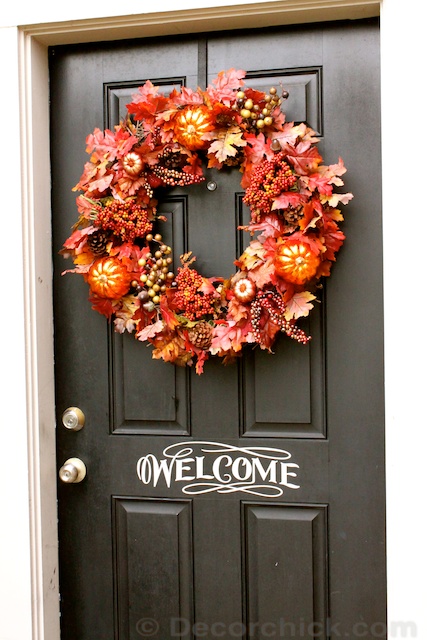
Here she is!
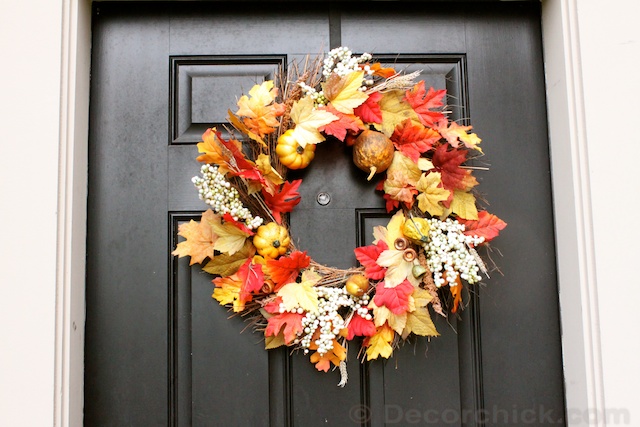
It’s bigger and better and in charge now. :) Here’s our old one from last year (the wimpy one).
The new one is much better right?
I know it’s so tempting to just buy one of the pre-made wreaths you see at the craft stores, but mercy they are so expensive! I really liked one at Hobby Lobby but it was $149.99, then take 40% off, and well that’s just still too expensive. The one I made cost me about $30. I already had a few of the items though, so if I didn’t I would think this would cost about $40, which isn’t bad for a nice wreath. Ok here’s what I did.
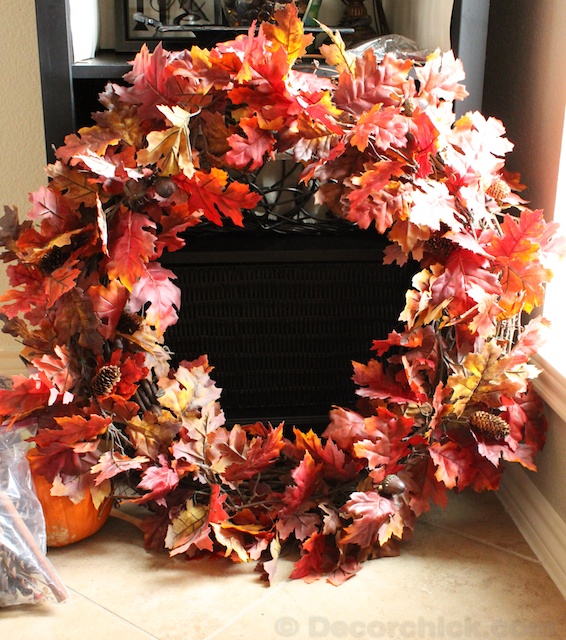
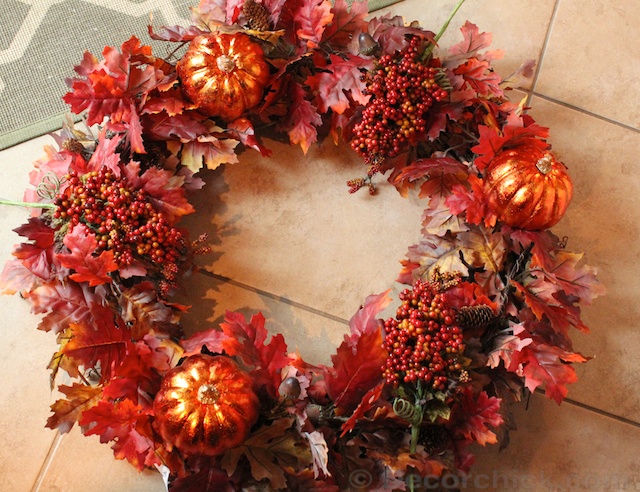
I first just bought one of the big wreath forms from Hobby Lobby and put my garland that I already had on it.
I used 2 strands of garland because I wanted it really full looking. And I think the wreath looks pretty just with only the garland too!
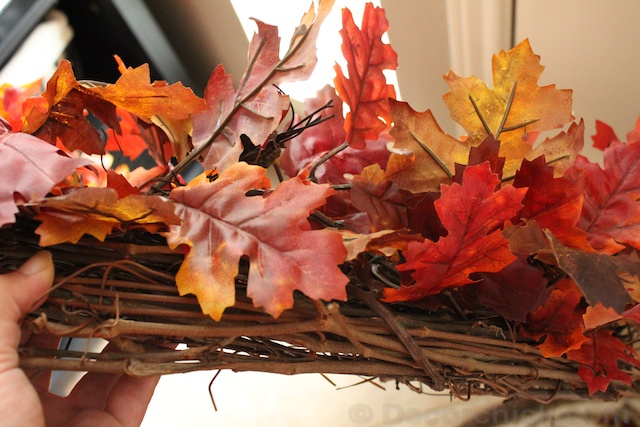
I attached the garland to the wreath form using just floral wire so it’s nice and secure. So the garland is “the base.”
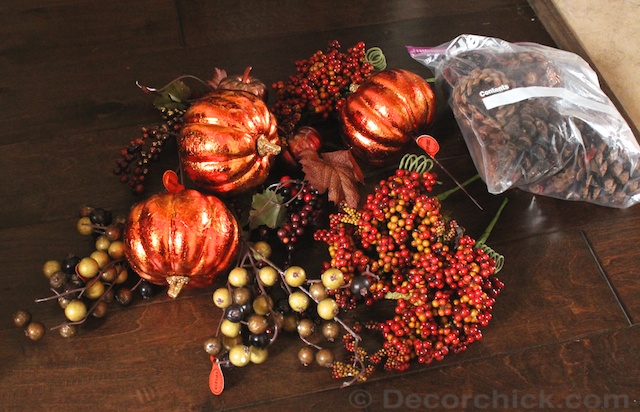
Then pick out some swag from the craft store that you’d like to use on your wreath.
And since my wreath is big, I needed some big items to go on it.
And a good rule of thumb is to place your items in thirds on your wreath. I don’t know if that’s a fact or not, but that’s just what I do. :)
You can see here that I was spacing my things out and started with the big pumpkins, then the big red berries.
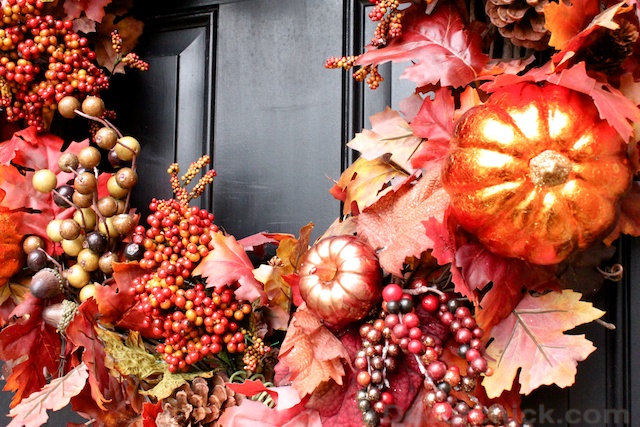
I thought that placement looked good so I went ahead and hot-glued them in place. Then I just used the rest of the swag and pinecones (that I already had) and filled in the empty spots.
I just love how it came out! I makes much more of a statement on our front door.
Easy enough right?
Oh, I get asked all the time about that “Welcome” sign–I had it printed at a sign shop a few years ago and it’s just vinyl. If you have a Silhouette or craft cutter machine you could make one too! :)
So are you a wreath expert or amateur? Do you add in your wreath swag in 3rd’s too or just me? Tell us your wreath secrets!
xxoo,
Decorchick!
________________________________________________________________________
Also find me on Facebook, Twitter, Pinterest, Google+, RSS and Instagram


Very pretty. I like how full it is. Maybe I should try garland on mine.
It’s so pretty and colorful and looks great against the dark door. Thanks for sharing your tips on wreath making. Makes me want to get busy now!
I love the wreath! It’s very fitting to your overall decor :) Now that you have shared this idea, I just realized I have ALL of the materials on hand so I think this will be a nice project for me tomorrow :) Thanks!
Never thought of using garland around the wreath…good idea. Thanks for sharing; I’ll have to beef mine up this year as well!
This looks so gorgeous and full! I love it! I usually make my wreaths in 4ths…not sure why. I seem to just naturally do it that way. But I love the look of a wreath in 3rds — I am going to have to try that for my next one. Thank you!!
That turned out gorgeous! Found you on Pinterest, where I was looking for ideas for a DIY Fall wreath. You make it look so easy and beautiful, that I think I can do this! Thank you!
I do the same thing to make my wreaths but I use clear zip ties to attach the garlands to the grapevine wreath forms. It is fast and easy : )
I was taught many years ago to do artistic projects in odd numbers, hence, 3’s, 5’s, 7’s, etc. Your wreath is gorgeous. Thanks for sharing.
Thank you Paula!
If some one wishes expert view on the topic of blogging and site-building then i suggest him/her to go to see this web site,
Keep up the nice work.
Your wreath looks great! When making mine I just follow what feels right for the wreath – size, use, etc…
Thanks Krista!
I tried it and it came out awesome! It cost me $46.00. It is our first fall on our new house and I love it! I also love that we didn’t break the bank. :) Thank you for sharing! I wish I could post my picture if it in here.
Did you wrap the garland around the grapevine wreath, or just fasten it to the front?
Hi there. I know it’s a year later but I was wondering the same thing. After studying the first picture I believe she lays her vines on top. I have wrapped mine but this spreads the garland much thinner. Attaching them with wire or zip cords appears to make them look much fuller.
Hiya! Quick question that’s completely off topic. Do you know
how to make your site mobile friendly? My weblog looks weird
when browsing from my iphone4. I’m trying to find a template
or plugin that might be able to fix this issue.
If you have any recommendations, please share. Thanks!
This info is invaluablе. When can I find out more?
Looks just lovely. This or something close to it, will hang on our door this fall. Just lovely.thank you for a new idea for my door
Very good post. I certainly appreciate this website.
Thanks!
Hello there! I could have sworn I’ve visited your blog before but after browsing through many of the posts I realized it’s new
to me. Anyways, I’m definitely happy I found it and I’ll be bookmarking it and checking back often!
How did you attach the little pumpkins? Did you do anything to secure the berries? Mine blows off the door way too often so I want it very secure:) Beautiful. love it!! What size is this?